It’s Easier to Bake French Croissants Than You Think
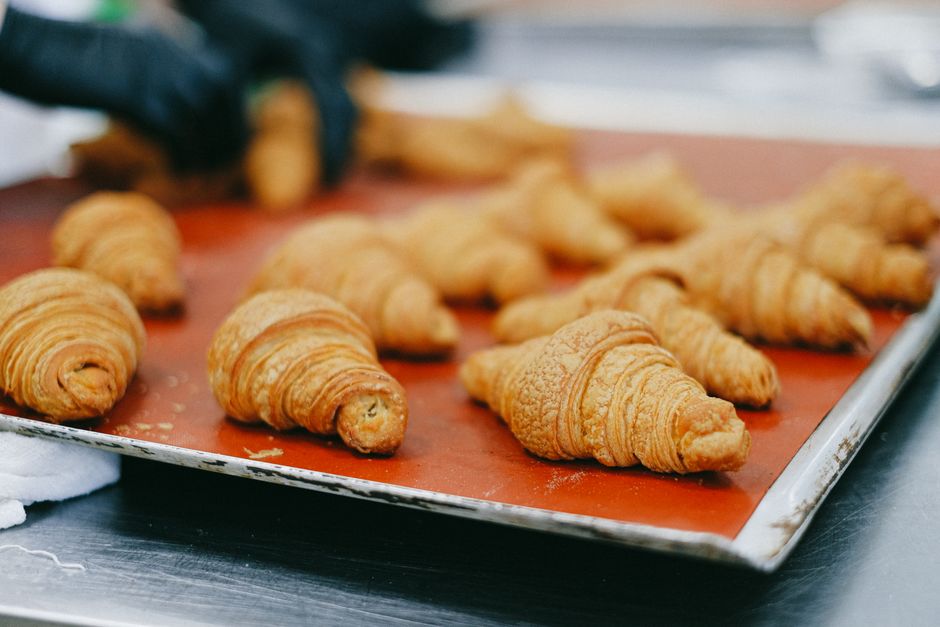
Many home bakers view the French croissant as the pinnacle of pastry-making, a delicacy shrouded in mystery and requiring years of professional training. The image of intricate folds, precise temperatures, and meticulous timing can be intimidating. However, the reality is that creating a batch of buttery, flaky croissants at home is an achievable project for anyone willing to follow a methodical approach. By breaking down the process into clear stages and understanding the principles behind each step, you can successfully produce pastries that rival those from a neighborhood boulangerie.
This article presents a simplified yet authentic approach to croissant-making, focusing on the essential techniques of lamination and shaping. Rather than a hurried overview, it offers a step-by-step exploration of each phase, from preparing the dough to baking the final product. The emphasis is on understanding the why behind each action, which demystifies the process and ensures success. With patience and attention to detail, you’ll discover that crafting these iconic French pastries is more about careful procedure than innate talent.
Understanding the Fundamentals: Ingredients and Equipment
Before diving into the process, it’s helpful to understand the role of each ingredient and the necessary tools. A croissant dough is a rich, yeasted dough that incorporates a significant amount of butter through a technique called lamination. The primary ingredients are flour, water, milk, sugar, salt, yeast, and butter. The butter used for lamination, often referred to as the butter block, should be high-quality and have a high fat content, typically around 84% or higher. This specific type of butter is less likely to break or leak during the folding process, ensuring distinct, flaky layers.
The equipment list is straightforward and likely already present in your kitchen. A rolling pin is essential, and a large surface for rolling is helpful. A bench scraper aids in handling the dough and cleaning the work area. Plastic wrap and a baking sheet are necessary for chilling and baking. While a mixer is convenient, the dough can also be kneaded by hand, making the recipe accessible to those without stand mixers. A digital thermometer can help verify water and dough temperatures, but it is not strictly mandatory if you follow the temperature cues described in the process.
Remember: Croissant-making is a study in temperature control. Keeping the dough and butter at the right consistency is the key to achieving those beautiful, delicate layers.
Preparing the Dough and Butter Block
The first step in this endeavor is to prepare the dough, known as the détrempe. In a large mixing bowl or the bowl of a stand mixer, combine the flour, sugar, salt, and yeast. Add water and milk, then mix until a shaggy dough forms. Knead the dough for about 5-7 minutes until it becomes smooth and elastic, but not fully developed. Unlike bread dough, croissant dough does not need extensive gluten development because the lamination process will create structure. Over-kneading can make the dough tough.
After kneading, form the dough into a rough square, wrap it in plastic wrap, and refrigerate it for at least 2 hours, or preferably overnight. This resting period allows the gluten to relax and makes the dough easier to roll later. Meanwhile, prepare the butter block. Place the cold butter between two sheets of parchment paper and beat it gently with a rolling pin until it becomes pliable but still cold. Shape it into a rectangle, about 12×8 inches (30×20 cm), and chill it briefly to firm it up without making it brittle.
Once the dough is chilled, it’s time to roll it out into a rectangle large enough to encase the butter block. The dough should be about three times the width of the butter, and slightly longer. Place the butter in the center of the dough. Fold the sides over the butter, pinching the edges to seal it completely. This process creates a package that encapsulates the butter, setting the stage for lamination.
The Lamination Process: Creating Layers
Lamination is the heart of croissant-making, a series of folds that creates alternating layers of dough and butter. The goal is to create a sheet of pastry with numerous thin layers that will separate when baked, yielding that characteristic airy, flaky interior. The process involves rolling and folding the dough multiple times, with chilling periods in between to keep the butter solid.
Start by rolling the dough-butter package into a long rectangle, about 24×12 inches (60×30 cm). The dough should be even and the butter should be uniformly distributed. If you notice air bubbles, gently poke them to release the air. Next, perform the first fold, often called a book fold or double fold: fold one-third of the dough over the middle, then fold the opposite third over that, as if folding a business letter. This results in a thick packet.
Chill the dough for at least 30 minutes, wrapped, to firm up the butter. Then roll it out again and perform a second fold, this time a single fold (also known as a letter fold): fold one side of the dough into the center, then fold the other side over it, like closing a book. After chilling again, the dough is ready for shaping. Each fold multiplies the number of layers, and after these two folds, you’ll have hundreds of layers, setting the foundation for exceptional flakiness.
Shaping and Proofing the Croissants
Once the lamination is complete, the dough is ready to be shaped. Roll the dough out into a large rectangle, typically about 1/4 inch (6 mm) thick. Use a sharp knife or pizza cutter to trim the edges and then cut the dough into triangles. The base of each triangle should be about 4 inches (10 cm) wide, and the sides roughly 8-9 inches (20-23 cm) long. Cutting with a clean, straight edge is crucial to ensure even rolling.
To shape a croissant, take the base of the triangle and gently pull the two corners outward to widen it slightly. Then, begin rolling the base toward the tip, applying gentle, even tension. You should aim to stretch the tip slightly to create a longer roll, but avoid pressing too hard, which can squash the layers. Finish with the tip tucked underneath the croissant. If you desire a classic crescent shape, you can bend the ends inward toward each other, forming a crescent.
Place the shaped croissants on a baking sheet lined with parchment paper, leaving enough space between them to allow for expansion. Cover them lightly with plastic wrap or a clean kitchen towel to prevent drying. Proof the croissants in a warm, draft-free area. The ideal temperature for proofing is around 75°F to 80°F (24°C to 27°C). The proofing time can vary dramatically, from 1 to 2 hours depending on the temperature of your kitchen. Alternatively, you can proof them in a proofing box or in the oven with the light on. You may also chill them overnight to proof slowly, which can enhance the flavor.
The croissants are ready to bake when they appear puffy and slightly pillowy. When you gently jiggle the baking sheet, they should wobble, but not deflate. Over-proofing will cause the butter to soften too much and leak during baking, resulting in a greasy texture. Under-proofing will yield dense and less airy croissants. This stage requires your keen observation and patience, as it greatly impacts the final texture.
Baking to Golden Perfection
Before baking, preheat your oven to 400°F (200°C). For a glossy, professional finish, prepare an egg wash by beating an egg with a pinch of salt and a splash of water. Just before placing the croissants in the oven, gently brush the top and sides of each pastry with the egg wash. Be careful not to drip the wash onto the edges or the baking sheet, as it can inhibit browning and cause sticking.
Bake the croissants for approximately 15-20 minutes, or until they are deeply golden brown. The high heat initially helps set the layers and create steam, which lifts the dough. Lower the temperature slightly if they brown too quickly. The croissants should sound hollow when tapped on the bottom, an indication that they are fully baked. Allow them to cool on wire racks for at least 10 minutes before serving.
The process of baking croissants is a delicate balance of time and temperature. Ovens vary, so it’s wise to check the progress at the halfway point. If the croissants are baking unevenly, rotate the pan. The final product should have a crisp, deep golden exterior that flakes easily, revealing a tender, airy crumb.
In summary, baking croissants at home is a rewarding endeavor that is more accessible than widely believed. By methodically preparing the dough, executing the lamination, shaping, proofing, and baking with attention to detail, you can create delicious, artisanal-quality croissants in your own kitchen. Chef’s Journey encourages you to experiment and refine your technique with each batch, discovering the subtle nuances that make this pastry so beloved.